 FutureBasic
Working with nibs - Image files
It's often desirable to be able to view images whilst laying out the interface.One way to do this is to create an Xcode project to hold a reference to the images.
Screenshots taken from Xcode 11.4.1.
1. Launch Xcode
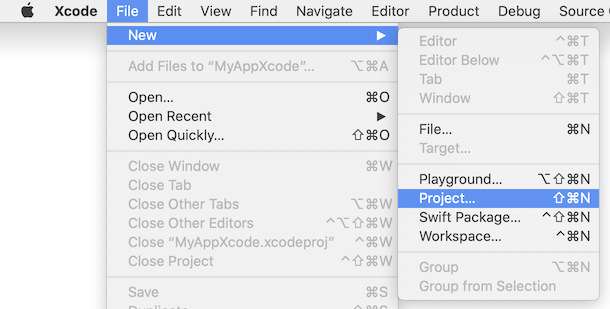
2. Choose File > New > Project... (⇧⌘N)
3. Select 'macOS', 'App' and click 'Next'

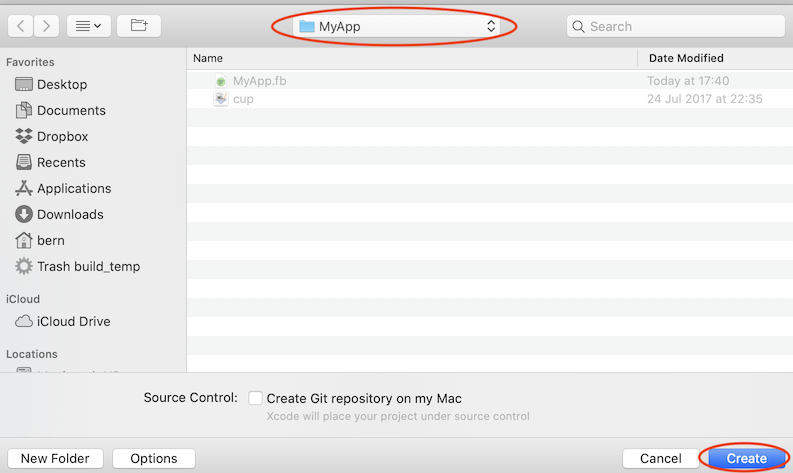
4. Give the project a name and click 'Next'
5. Save the project in your FutureBasic app's directory
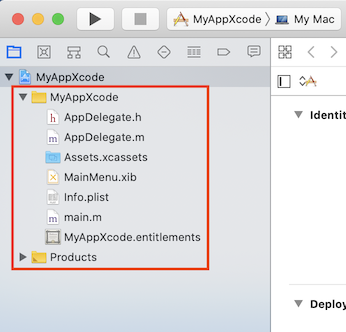
6. The 7. This leaves us with an empty project.
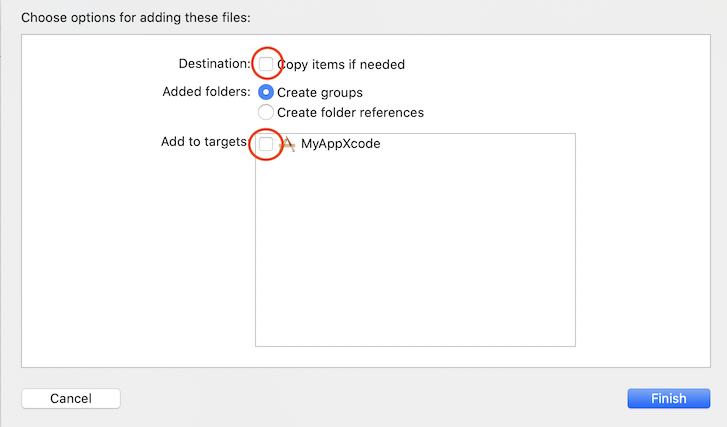
8. From the FB app folder drag your image(s) to the Xcode project's files area. In the dialog that pops up, ensure 'Copy items if needed' and the Xcode project name in 'Add to targets' are both unchecked. Click 'Finish'
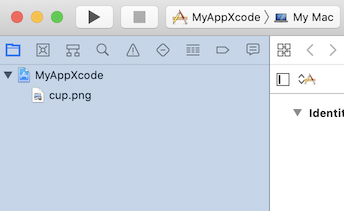
9. A reference to the image is added to the Xcode project
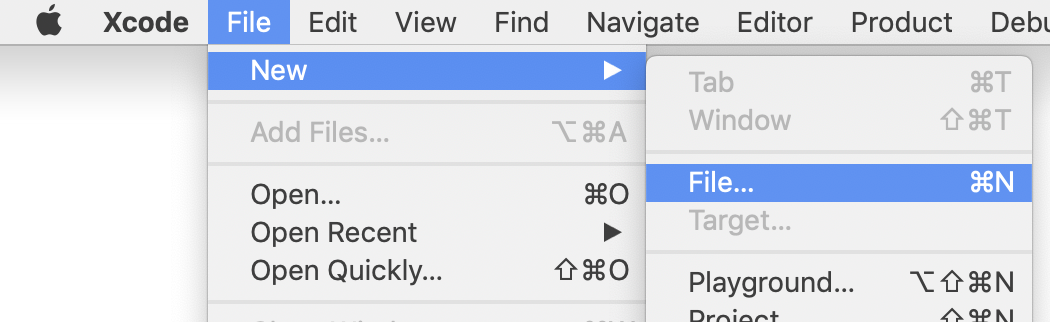
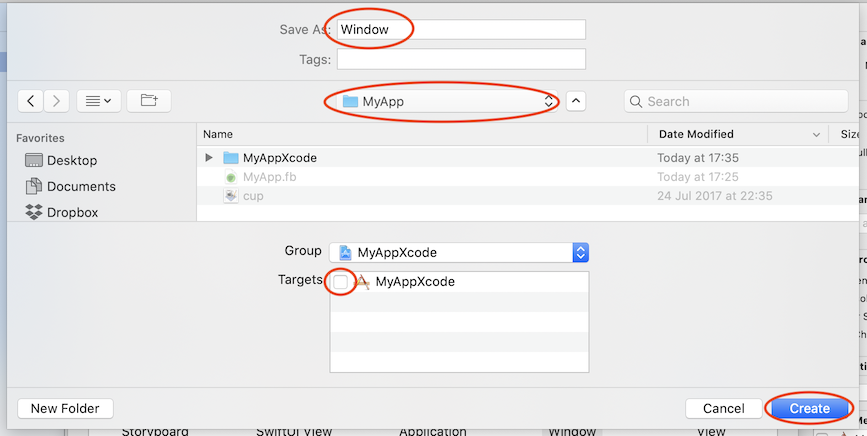
10. Create an xib file by choosing File > New > File... (⌘N)
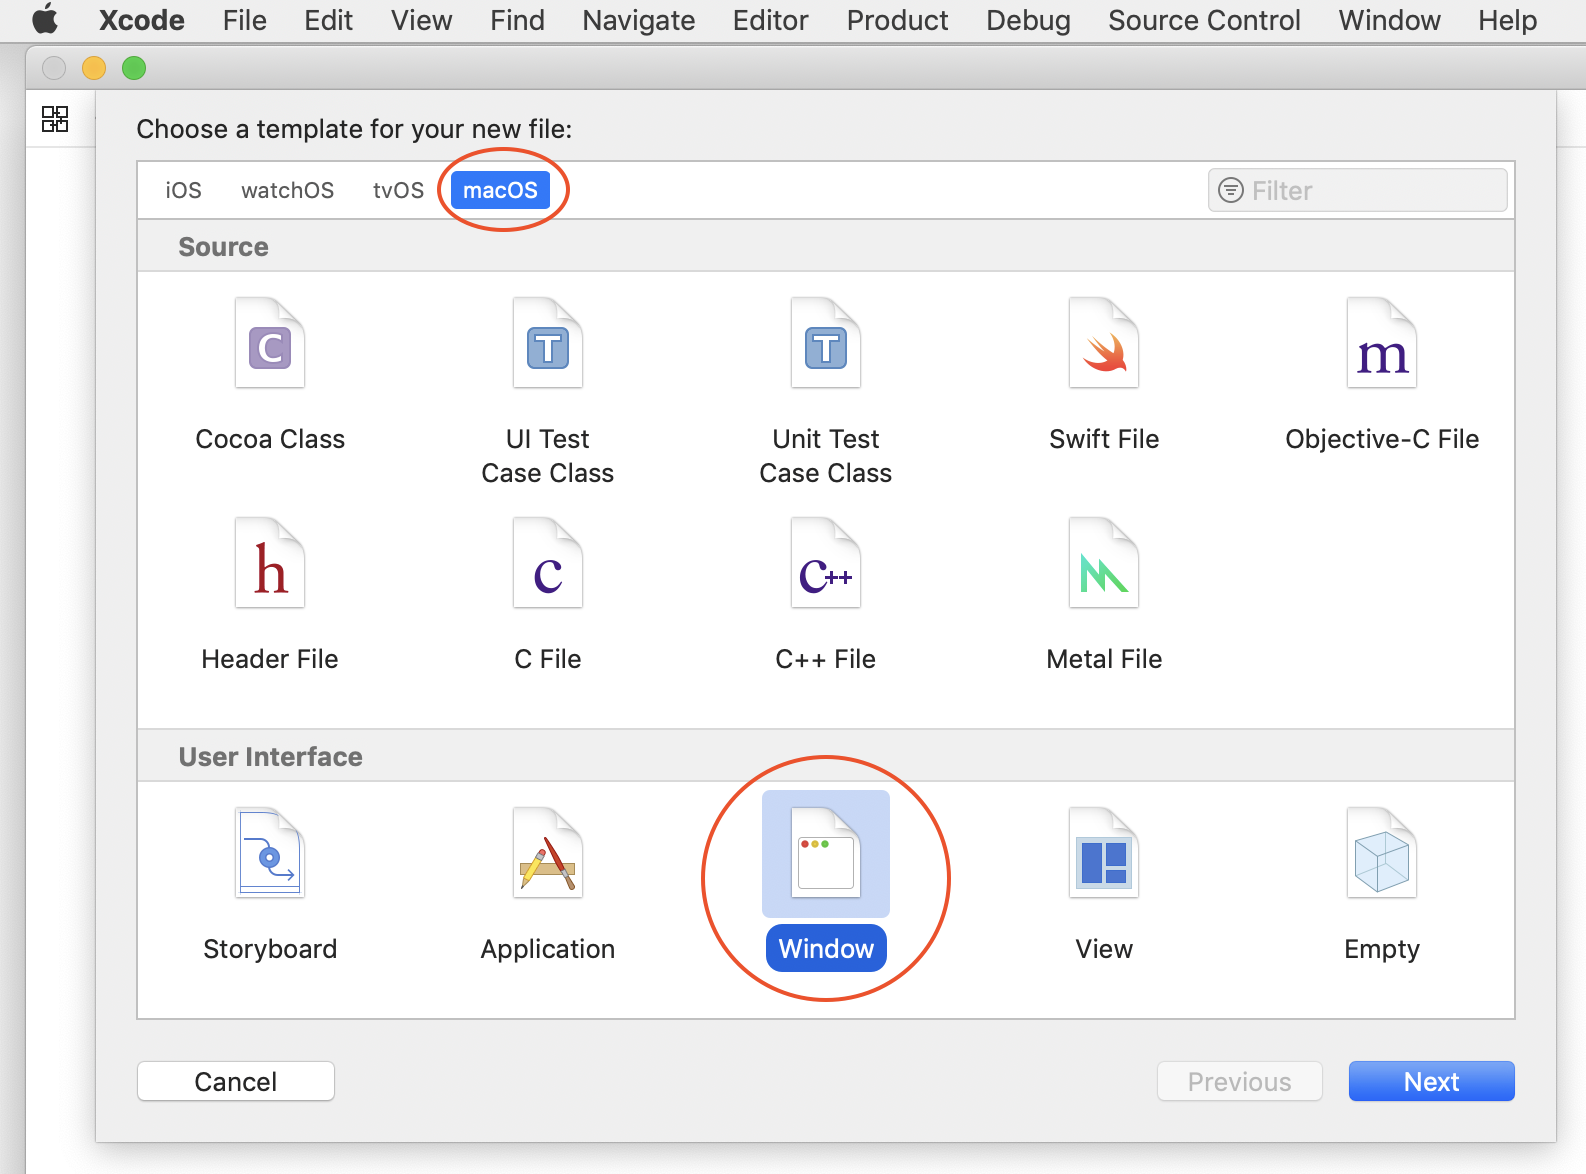
11. Select 'macOS', 'Window' and click 'Next'
12. Give the xib a name (usually 'Window'). Make sure you choose the FB app directory as the save location. Uncheck the Xcode project name in the 'Targets' list. Click 'Create'
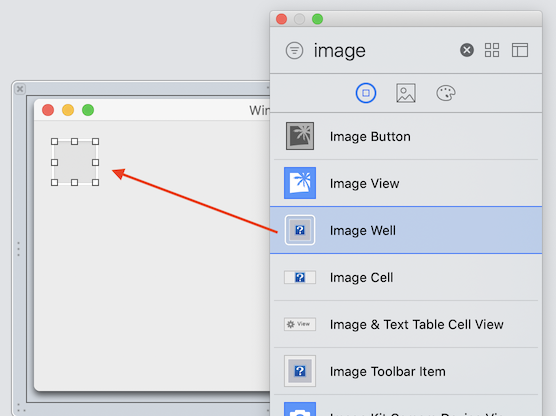
13. Drag an image well from the Library panel to the window
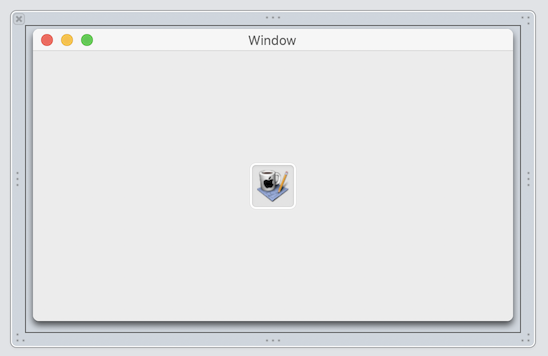
14. Enter the image name in the image well's attributes inspector...
15. The image should appear in the well
16. In FutureBasic, create a new file and paste the following
17. Save the FB file to the same folder as the nib and run it
![]()